This article is generated using Gemini 3.1 Pro and edited by SESS.
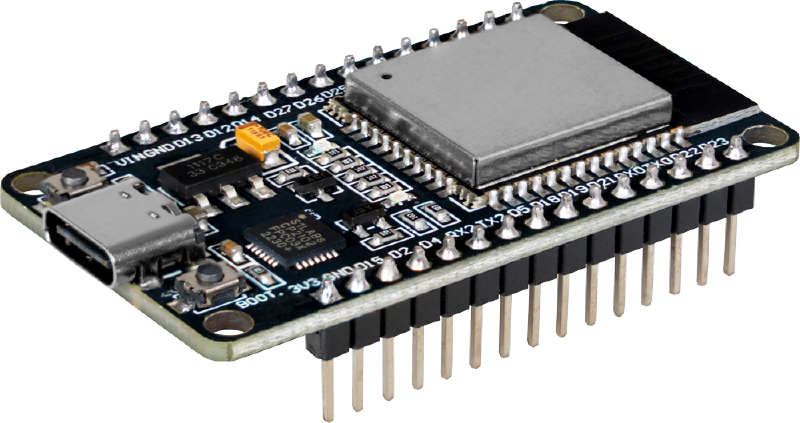
If you’re an engineering or computer science student working with IoT devices on campus, you’ve probably hit this exact wall: you bring your ESP32 to Seneca Polytechnic, fire up your standard WiFi connection code, and… nothing. It refuses to connect to SenecaNET.
It’s a frustrating roadblock, but it’s not a bug in your code. It all comes down to how institutional networks authenticate devices.
In this tutorial, we’ll explain why your ESP32 hates SenecaNET, why eduroam is your saving grace, and how to write the code to get your microcontroller online securely.
The Problem: Why SenecaNET Blocks Your ESP32#
SenecaNET (like many primary campus or guest networks) typically relies on a Captive Portal.
When you connect to SenecaNET on your phone or laptop, the network intercepts your first web request and redirects you to a login page. You type in your student credentials, click “Accept Terms,” and then you get internet access.
The ESP32 is a “headless” device. It doesn’t have a built-in web browser or a human to click “I Accept.” While it is technically possible to write complex code to scrape and bypass a captive portal, it is highly unreliable because IT departments frequently update these login pages. When the page changes, your code breaks.
The Solution: 802.1X Authentication and eduroam#
Instead of fighting the captive portal, we can use eduroam.
Eduroam is the secure, worldwide roaming access service developed for the international research and education community. Instead of using a captive portal, eduroam uses WPA2-Enterprise (specifically the 802.1X standard).
WPA2-Enterprise allows a device to pass its username and password directly to the network router behind the scenes during the initial connection handshake. Fortunately, the ESP32’s WiFi chip has native, under-the-hood support for WPA2-Enterprise authentication.
By feeding our student email and password directly to the ESP32’s underlying WiFi driver, we can authenticate immediately and get straight to the internet.
The Code: Connecting ESP32 to eduroam#
Here is the complete Arduino sketch to get your ESP32 connected to eduroam.
🚨 CRITICAL SECURITY WARNING: You will be putting your actual Seneca student email and password into this code. DO NOT commit or upload this file to a public GitHub repository. Always add your credentials file to your .gitignore or strip them out before sharing your code!
#include <WiFi.h>
#include <HTTPClient.h>
#include "esp_wifi.h"
#include "esp_wpa2.h"

#define SSID "eduroam"

#define EAP_IDENTITY ""  // Not required to connect eduroam as a Seneca user
#define EAP_USERNAME "your_email@myseneca.ca"  // DO NOT SAVE this into an online Repo
#define EAP_PASSWORD "your_password"           // DO NOT SAVE this into an online Repo !!!!!!!!!!!
#define EAP_ANON_ID  ""  // Not required to connect eduroam as a Seneca user

void setup() {

  Serial.begin(115200);
  delay(2000);

  // 1. Reset WiFi and set to Station mode (client)
  WiFi.disconnect(true);
  WiFi.mode(WIFI_STA);

  Serial.println("Connecting...");

  // 2. Configure WPA2-Enterprise Authentication
  esp_wifi_sta_wpa2_ent_set_identity(
    (uint8_t*)EAP_ANON_ID,
    strlen(EAP_ANON_ID));

  esp_wifi_sta_wpa2_ent_set_username(
    (uint8_t*)EAP_USERNAME,
    strlen(EAP_USERNAME));

  esp_wifi_sta_wpa2_ent_set_password(
    (uint8_t*)EAP_PASSWORD,
    strlen(EAP_PASSWORD));

  // 3. Enable WPA2-Enterprise and connect
  esp_wifi_sta_wpa2_ent_enable();
  WiFi.begin(SSID);

  // Wait for connection
  while (WiFi.status() != WL_CONNECTED) {
    delay(500);
    Serial.print(".");
  }

  Serial.println("\nWiFi Connected!");

  // 4. Test the Internet Connection
  HTTPClient http;
  Serial.println("Requesting example.com ...");
  http.begin("http://example.com");

  int httpCode = http.GET();
  Serial.print("HTTP Response Code = ");
  Serial.println(httpCode);

  if (httpCode > 0) {
    String payload = http.getString();
    Serial.println("SUCCESS — Internet works!");
    Serial.println(payload.substring(0,200)); // prints part of the webpage
  } else {
    Serial.println("FAILED — No internet access.");
  }

  http.end();
}

void loop() {
  // Your IoT application logic goes here!
}
How It Works#
Headers: We include
esp_wifi.handesp_wpa2.h. These give us access to the low-level Espressif framework functions needed for Enterprise networking, bypassing the standard simpleWiFi.begin(ssid, password)function.Configuration: We use the
esp_wifi_sta_wpa2_ent_set_*functions to load our Seneca credentials directly into the ESP32’s WiFi stack.Connection:
esp_wifi_sta_wpa2_ent_enable()turns on Enterprise mode. When we callWiFi.begin(SSID), the ESP32 knows to negotiate using the credentials we just provided.Verification: Finally, we use
HTTPClientto pingexample.com. If we get an HTTP 200 response code and a snippet of HTML back, we know we’ve successfully bypassed the restrictions and are live on the web!
Next Steps#
Now that your ESP32 is online at Seneca, you can start sending sensor data to the cloud, fetching API data, or communicating with an MQTT broker. Happy building!